Some House Befores & Afters
We advise sellers to have inspections done so the underlying condition of the house is known. Sometimes the basics are good – roof, foundation, electrical, plumbing and so on – but otherwise the house looks dowdy. Investing in a fresh look makes all the difference in a sale.
The goal is thoughtful preparation that makes the property so inviting that visitors don’t want to leave. Everyone is impressed and pleased that good care has been taken of the house. They fall in love, and this is when they buy.
These photos are befores & afters of just a few houses that we were involved in prepping before marketing. In most cases, the work was skin deep only; the results were fantastic.
House 1 : House 2 : House 3 : House 4
House 5 : House 6 : House 7 : House 8
For more info on redoing houses before selling, see our ‘newspaper columns’ on this website.
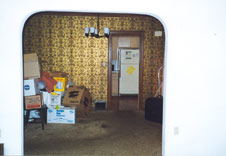
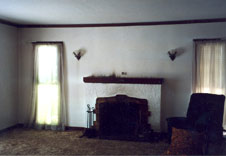
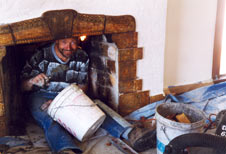
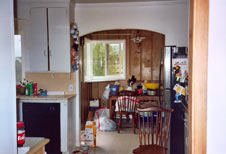
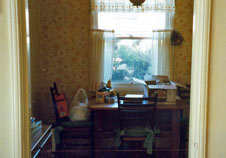
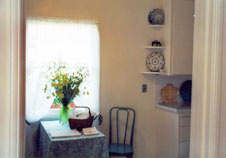
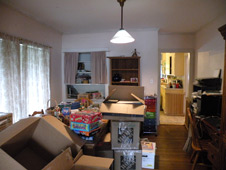
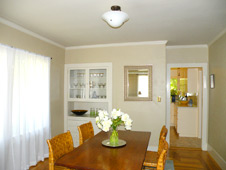
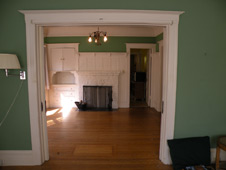
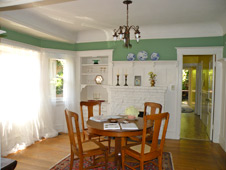
Photos of Albany stucco built in 1926 follow. Notice the smoke above the fireplace mantel. Work done: fireplace repaired; carpeting removed and floors waxed and polished; entire interior painted; cleaning, window washing, some gardening; staging.
 |
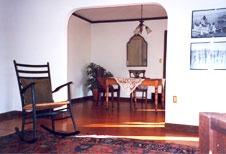 |
| Dining room before | Dining room after |
 |
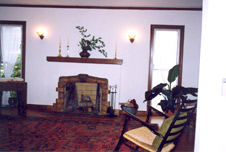 |
| Living room before | Living room after |
 |
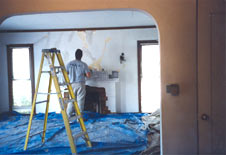 |
| Fireplace repair | Patching before painting |
 |
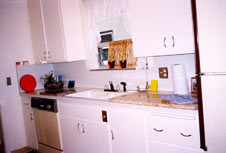 |
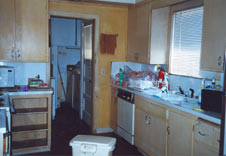
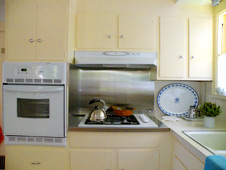
| Kitchen before | Kitchen after |
top ^
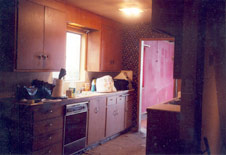
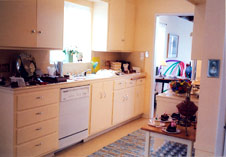
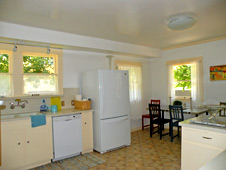
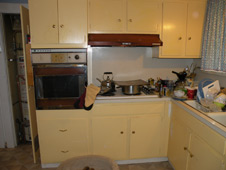
Montclair house built in 1960. We have included only 2 photos for this house although it was a large job. Every room in the house was painted inside and some exterior painting was done too. Hardwood floors were refinished and where there were only subfloors, new carpeting was installed. Back stairs were rebuilt which allowed the house to be sold with a termite clearance. Many small repairs were made. In the kitchen area in the photos, the kitchen counter was retiled and Marmoleum was laid on the floor.
 |
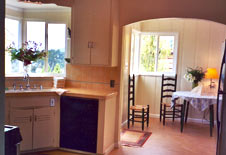 |
| Kitchen before | Kitchen after |
top ^
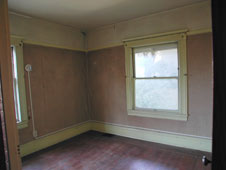
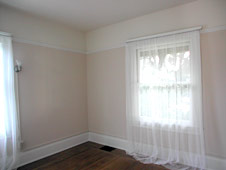
Berkeley house built in 1913. This house needed some basic work – furnace, electrical & roof. But because it had not had any cosmetic attention for many years, the interior was painted, hardwood floors polished, new carpet was laid in one bedroom and light fixtures more in keeping with the style of the house were hung. Look what cleaning, painting and staging have done for the one room we picture here. The difference was huge. Everyone who saw it loved it.
 |
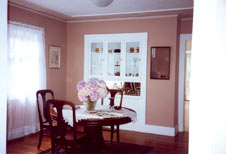 |
| Dining room before | Dining room after |
top ^
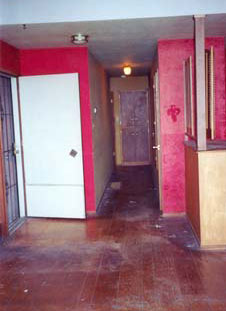
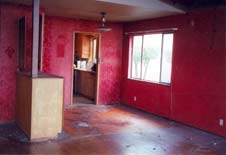
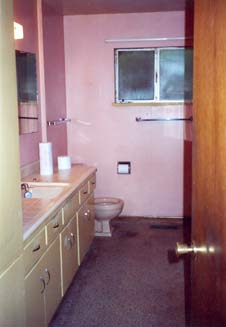
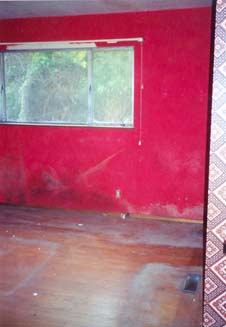
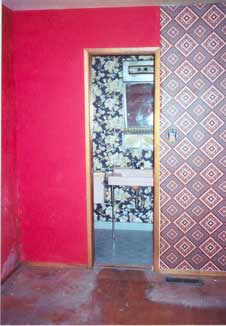
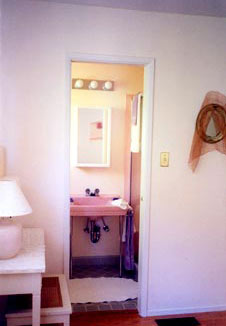
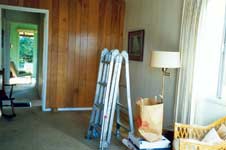
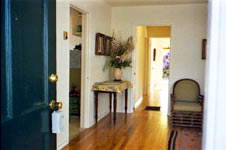
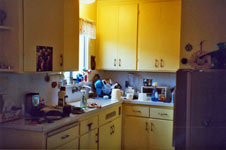
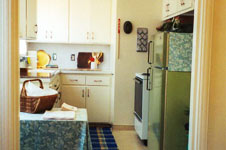
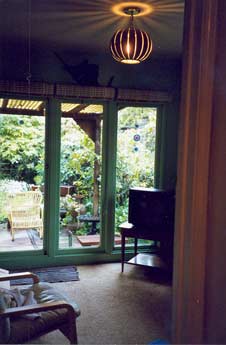
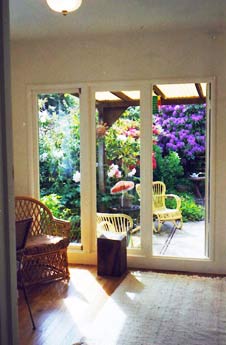
A house built in 1960 in El Cerrito. The owner had taken excellent care of the systems, all of which worked great, but no redecorating or updating had occurred since the house had been built. Floors were all refinished with some damaged wood replaced. All painted surfaces were repainted, including some natural wood in the living room which unfortunately was badly faded in sections. Dishwasher and cooktop were replaced. Marmoleum was laid in the baths, kitchen and family room. Much detailing was attended to including repairs to sliding doors, patio washing and plant trimming, new curtain rods and lighting. And cleaning, window washing and staging.
 |
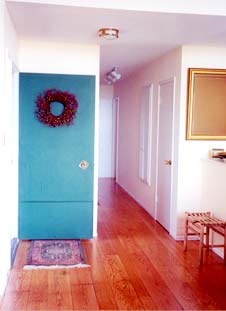 |
| Entry before | Entry after |
 |
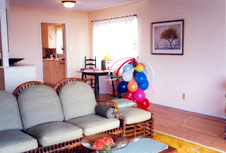 |
| Dining area before | Dining area after |
 |
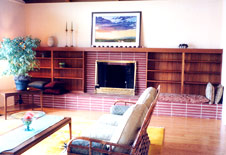 |
| Living room before | Living room after |
 |
 |
| Kitchen before | Kitchen after |
 |
 |
| Cooking area before | Cooking area after |
 |
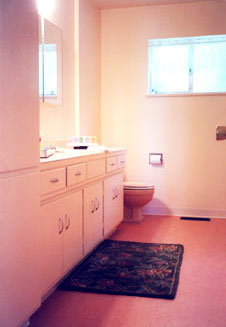 |
| Hall bath before | Hall bath after |
 |
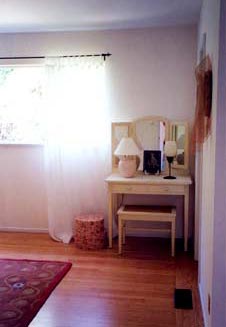 |
| Corner master bedroom before | Corner master bedroom after |
 |
 |
| Master bedroom to bath before | Master bedroom to bath after |
top ^
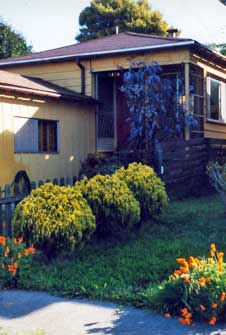
We love this redo of this small 2-bedroom house located in El Cerrito. Because of its size, the owner had doubts about its appeal no matter what we did, but with some straight forward and rather minor changes, the house looked great; so great, that there were multiple offers. All of us were somehow sure that a woman would buy the house, but as it turned out, the offers were all from single men.
When we first saw the little house, it was painted a too-garish yellow with chocolate brown trim, including the rain gutters. We talked the owner into new paint – chalk-white (including painting out the gutters) with better looking trim painted a rich forest-green.
Inside, the only changes were: Carpet was taken up and floors were refinished. Living room paneling was removed. Painting throughout. A few light fixtures were changed (especially important in the case of the too-low hanging lamp in the breakfast room). Simple staging and curtains.
 |
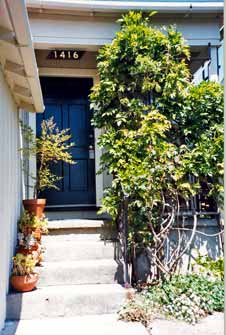 |
| Front exterior before | Front exterior after |
 |
 |
| Living room before | Living room after |
 |
 |
| Kitchen before | Kitchen after |
 |
 |
| Breakfast room before | Breakfast room after |
 |
 |
| Bedroom and garden before | Bedroom and garden after |
top ^
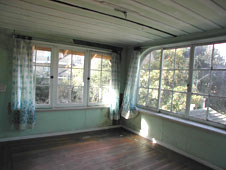
This large, beautiful house was built in 1903. Roof leaks had caused quite a bit of damage before we saw it for the first time and other aspects of the house had been neglected. Once it was vacant and emptied, much work was accomplished over a 2-month period, including interior painting throughout, electrical and plumbing repairs, some new windows and light fixtures, firebox rebuild, and floor work.
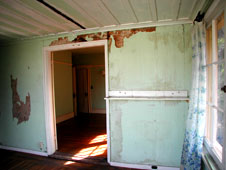
It took the painting crew most of 2 weeks just to prep the walls and ceilings of the second floor (4 bedrooms, sun room, divided bath plus a half bath) and another week to prime and paint.
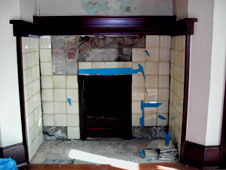
Many of the face tiles on fireplace in the master bedroom had come loose and had fallen. We cleaned and reused undamaged tiles and made other repairs to the fireplace and hearth. Oak floors, inlaid with cherry, were sanded and repaired where needed (in some spots, new wood was used) and coated with 4 coats of finish.
The budget was $60,000, which covered work by more than two dozen people. There is still work to be done, which the new owners plan to complete, but everyone agrees that the house looks great!
 |
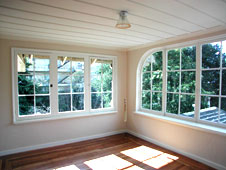 |
| Sunroom before | Sunroom after |
 |
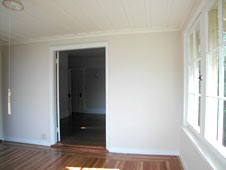 |
| Sunroom to bedroom before | Sunroom to bedroom after |
 |
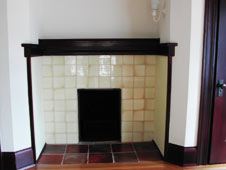 |
| Master bedroom fireplace before | Master bedroom fireplace after |
 |
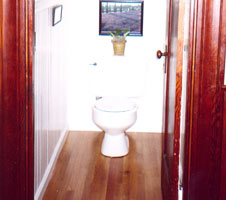 |
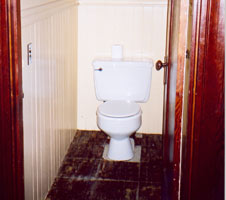
| Hall water closet before | Hall water closet after |
 |
 |
| Small bedroom before | Small bedroom after |
 |
 |
| Dining room before | Dining room after |
top ^
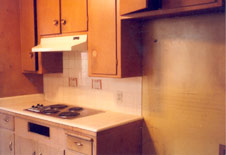
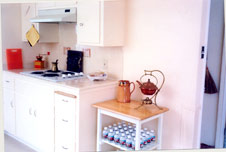
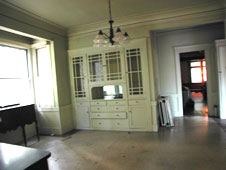
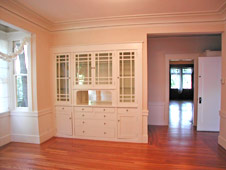
seller agreed with all our suggestions: Wood floor refinishing, dated wallpaper removed and painting throughout, and different light fixtures in many rooms. The original doors for the dining room built-in cabinet had disappeared years ago so we had new ones built. We kept the existing kitchen laminate counters and the cabinets (removing the hard-to-reach one that was over the refrigerator) and bought new white appliances. We had the old electric cooktop removed, ran a gas line and installed a new gas cooktop with custom-made stainless steel surround.
 |
 |
| Dining room before | Dining room after |
 |
 |
| Kitchen before | Kitchen after |
 |
 |
| Kitchen range before | Kitchen range after |
top ^
House 8: Rockridge Neighborhood Oakland
This house needed a number of fixes, including a new foundation. The foundation alone would cost around $40,000. Plus the kitchen was turn-of-the-century original, throughout the house the surfaces were worn and dated, and electrical work was required. But because the house is located in a highly-sought after neighborhood, we didn’t see how it made sense to spend time and money on these issues prior to marketing. Instead, we made some inexpensive changes to the bathroom, the house was cleaned, windows washed, curtains hung, and finally, good staging. In these photos you can see that we removed from the dining room the ill-fitting cabinet doors (a big improvement) but otherwise, the room looks quite nice.
 |
 |
| Dining room before | Dining room after |